RAC Attack - Oracle Cluster Database at Home/Setup ASM
Prev: Create Cluster
Grid Install (ASM) (e)
- Setup ASMLIB
- Cluster Verification Utility (ASM)
- Install Grid Infrastructure (ASM)
- Increase CRS Fencing Timeout (ASM)
- Setup ASM
Next: RAC Install
- As the oracle user, use the oenv macro (from Ardent Performance Computing) to set your environment for the SID +ASM1. Then, type asmca to launch ASMCA. collabn1:/home/oracle[RAC1]$ oenv SIDs here are: grid +ASM1 ORACLE_SID = [RAC1] ? +ASM1 The Oracle base for ORACLE_HOME=/u01/grid/oracle/product/11.2.0/grid_1 is /u01/app/oracle collabn1:/home/oracle[+ASM1]$ asmca
-
Make sure you're on the Disk Groups tab and then right-click on the DATA diskgroup and choose Edit Attributes.

-
Set the Database Compatibility and the ADVM Compatibility both to 11.2.0.0.0 then click OK. Choose YES when prompted about advancing database compatibility.

-
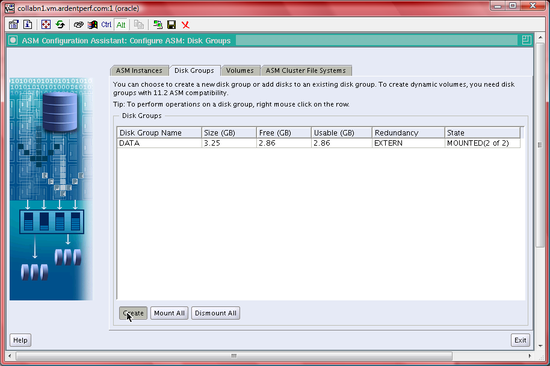
Click the Create button to add a new diskgroup.

-
Name the new diskgroup BACKUP. Choose External redundancy and select the disk ORCL:BACKUP. Then, click the Show Advanced Options button.

-
Leave the Allocation Unit at 1MB and set all compatibility parameters to 11.2.0.0.0, then click OK.


-
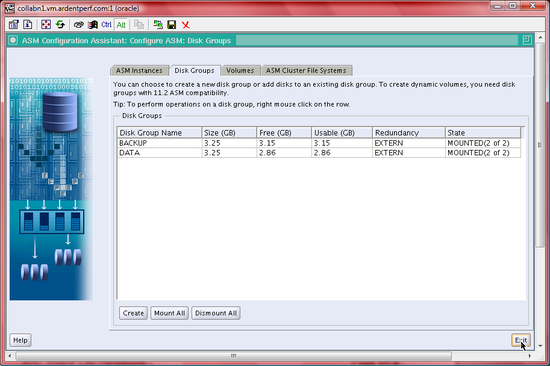
Click EXIT to close the ASM Configuration Assistant.


