Blender 3D: Noob to Pro/Stamping
| |
A Wikibookian has nominated this page for cleanup because: Images need to be added from the links below. You can help make it better. Please review any relevant discussion. |
| A Wikibookian has nominated this page for cleanup because: Images need to be added from the links below. You can help make it better. Please review any relevant discussion. |
Tictoon Tutorial: Stamping
editStamping in blender is a rendering option. A stamp on a render can prevent that render from being lost, keeping your project organized, and keeping your files organized.
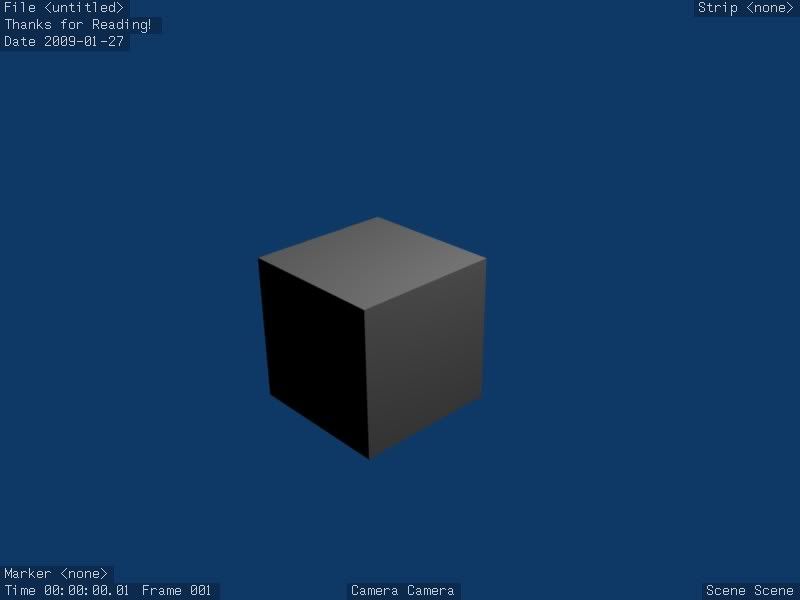
An example of a stamped Image:

Now my render is associated with a file, I know the date it was rendered at, and I've stated that the image is property of the OWF project.
Let's start off by opening up Blender. We are presented with the default scene.

Go to "Scene". Hit F10 or click the Scene button. ![]()
On the far right side you can spot a panel for the format of your renders.

Pick the "Stamp" tab.
You should be presented with a button: ![]()
Click on the button and you should see a variety of options.

Enable Draw Stamp to see your stamp in your render, more on Draw Stamp later on.
Each setting does something different. Here's a breakdown:
Filename: If enabled, this displays the path to your file. If you haven't saved your file yet, it will display "File <untitled>" Filename is displayed in the top left hand corner. When more than one stamps are in the top left corner of your render.
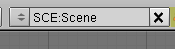
Scene: If enabled, this will display the name of the Scene your render is on.[img]http://i245.photobucket.com/albums/gg79/tictoon/screenshot8.png[/img] It will be displayed in the bottom right hand corner of your render.
Camera: If enabled, it displays the name of the camera from which the scene is rendered. It is displayed on the bottom of your render in the middle.
Time: If enabled, this displays the time stamp of your animation. It is displayed in the bottom left hand corner of your render.
Date: If enabled, the date of the render is displayed. It appears in the top left corner of your render.
Frame: If enabled, the frame of your animation will be displayed in the bottom left hand corner.
Marker: If enabled, the marker will be stamped onto the render. It is in the bottom left hand corner.
Sequence Strip: If enabled, it will display the sequence strip. Displayed in the top right corner.
Note: This is a custom stamp. you can type anything you want in here and it will be stamped in the top left hand corner of your render.
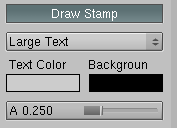
Draw Stamp: This needs to be enabled for the stamps to be seen in your render. [img]http://i245.photobucket.com/albums/gg79/tictoon/screenshot10.png[/img]
The drop down menu has various sizes for the text of your stamp. The Text Color is for the colour your text appears to be. The default is grey. "Background" is the background for the text. Default is black. "A" stands for Alpha. It indicates the alpha values for the background.
Now enable some buttons and hit F12 and you should see stamps on your render!
Efficiency tip: using this with Evernote can be very useful because Evernote can find text within images so you can quickly find a render if it has a stamp. I use the filename and date taken to find my images in Evernote. Keep blending :D
[img]http://i245.photobucket.com/albums/gg79/tictoon/stampedcube.jpg[/img]