Blender 3D: Noob to Pro/Modeling a simple space-ship
Modeling a simple spaceship using Blender 2.49b edit
This is a simple tutorial on how to build a simple spaceship using blender 2.49b. One of the best things about blender is the adaptability that can be accessed through its user interface. This tutorial will give you a look at some of the included blender scripts. If you would like to make your own, however, you can refer to the scripting chapter of this wiki book. So now, I guess we can get started.
Step 1: First, open blender. You should get the default blender scene with the cube in the center. If you don't, try resetting your blender settings. Select the box in the center of the screen.
Step 2: Now we're going to shape the box into any shape we want. For now, we are going to shape it into a sort of triangle. If you want to use it as a box, that's fine, but I suggest following this tutorial using it as a sort-of triangle. To be able to modify it, in the lower buttons area (with stuff like Modifiers, Shapes, Multires, Mesh, and Link and Materials) you should see a drop-down menu that is currently on Object Mode. Change that to Edit Mode or hit the tab button. Now you will be able to modify different aspects of your box.
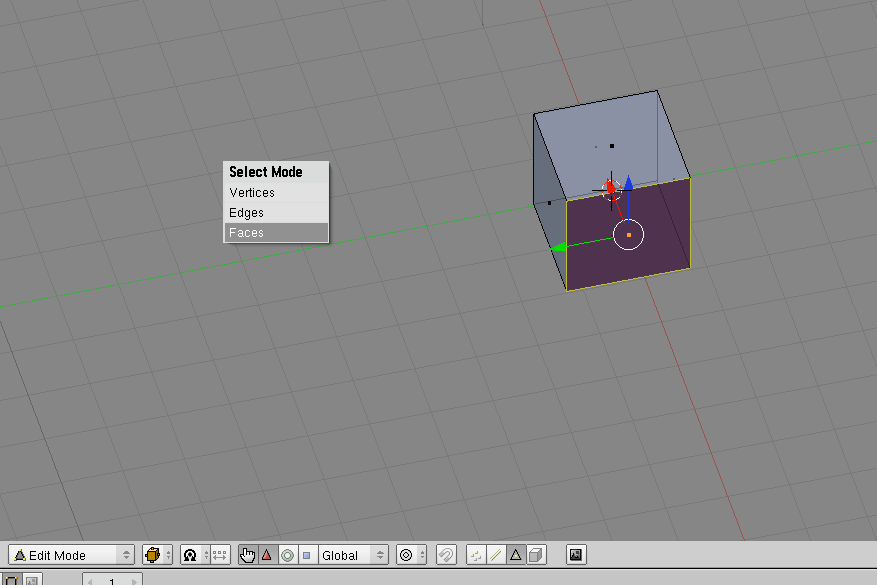
Step 3: With your box selected, hit Ctrl+Tab, and choose Faces. This allows you to modify the different faces. Faces are basically the different sides of your object, Edges are the edges of your object, and Vertices are points on your object where edges connect.
Step 4: Now, on your box, right click on one of the sides to select that side. If you want, first take a look around the box and then choose a side, but don't select the bottom or top face. To rotate around the box, hit the 8, 2, 4 or 6 button on your number pad, the one to the right of the arrow keys usually. Those buttons allow you to rotate around your objects and change your view. After you select the face you want, then rotate so that the face is facing towards you and looks like a square, and so that the grid around it looks like a flat horizontal line.
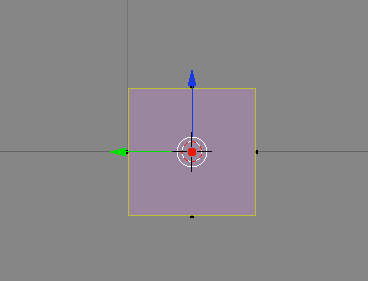
Step 5: There should be three arrows converging in the center of your face (or in the center of your box), and either the red or the green one should now be in the center of your face, and the other should be going off to the left or right, with the blue arrow going straight up or straight down. Use the 4 or 6 number pad button to rotate your view so you can see whichever arrow was in the center of your face, and left click mouse button on it, and hold the left click button, and drag the arrow around. Drag it until you have a rectangle. http://i238.photobucket.com/albums/ff55/bryguy336/uh.png http://i238.photobucket.com/albums/ff55/bryguy336/box.png
Step 6: Now to resize that face. With that face still selected, hit the S key, and move the mouse around. This should enable you to change the size of the face, and once you click, it should stop resizing and stay at that size. Experiment and get the hang of it, and then resize it so that it is an itsy bitsy teeny tiny box, and your rectangle more like a triangle. Congratulations! You have just made your first shape/object